
How to Make Rope in the Forest: Natural Cordage from Plants
Before elastic bands and garden twine, every camp, farm and forest settlement relied on cordage made from whatever grew nearby. Making rope from plants is one of those skills that sounds like a survival-show stunt until you try it, and then it turns out to be satisfying, slightly fiddly, and a good rainy-afternoon-proof activity, because the fiddliness is half the point.
We recommend this as a session for upper KS1 and older — it needs patience and reasonably dextrous fingers, and younger children tend to get frustrated with the twisting motion before the rope takes shape, but decide for yourself based on your knowledge of the participants in your group.
What to harvest
Stinging nettles are the classic UK choice. They’re everywhere, they fruit fibre for most of the growing season, and once the sting is dealt with (gloves, or picking after a good frost has taken the sting out) they give long, strong strands.
Other options schools we know have used successfully:
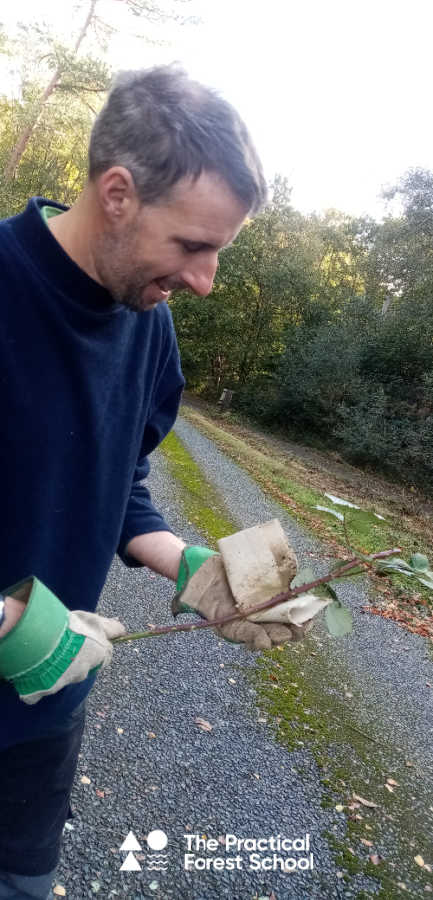
- Bramble, with the thorns scraped off first (we’ve also had good results with this, it’s my personal top choice)
- Willow bark, stripped in thin ribbons
- Honeysuckle bark
- Raffia or dried grass, for a gentler introduction with no prickly prep
The basic method
- Strip the fibre. Split the stem or bark lengthways and peel away the tough outer layer to expose the soft inner fibres. For nettles, this means taking the leaves off upwards, crushing the stem flat first, then working your thumbnail down the middle.
- Dry and soften. Fresh fibre is fine to use straight away for a first attempt, but rope from dried, rehydrated fibre holds together better and won’t shrink and loosen later.
- Reverse-wrap two bundles. Take two bundles of fibre roughly pencil-thick. Twist one away from you until it kinks, then wrap it over the other bundle. Twist the second bundle the same way and wrap it back over the first. Repeat, always twisting away from you and always wrapping the same direction. This is the part that takes practice.
- Splice in more fibre as each bundle runs thin, overlapping a new handful into the old one before the twist runs out, so the join disappears into the rope rather than sitting as a lump.
- Finish with a simple overhand knot at the working end to stop it unravelling.
The technique above is a simplified version of the reverse-wrap method described in detail by Wildway Bushcraft, who go further into fibre selection and two-ply construction than we’ve space for here.
Why it’s worth the fiddle
Cordage-making rewards exactly the kind of focus that outdoor sessions are good at drawing out of children who find sitting still indoors a trial. There’s no wrong answer to reach — the rope either holds together or it doesn’t, and children can test that themselves by hanging a boot off it, which tends to be the most popular part of the session.
It’s also a link to the National Curriculum for forest school leaders working within schools: it touches on materials and their properties (science), and on how communities met practical needs before manufactured alternatives (history).
A few practical notes
- Nettles and brambles should be picked with gloves regardless of season — a frost dulls a nettle sting but doesn’t remove it reliably.
- Any activity involving foraging plant material is worth covering in a session risk assessment, even a low-risk one like this.
- Keep a finished sample rope on hand to show the group what they’re aiming for. It’s a lot easier to understand what you’re trying to do if you can see a finished item.
Testing what you’ve made
Once a length of cordage is finished, testing it is half the fun and a useful lesson in itself! Tie it between two low branches and hang something from the middle — a welly boot works well, being heavy enough to matter but soft enough not to cause an argument if it drops.
A rope that snaps is not a failed session. It’s a chance to talk about why: too few fibres in the bundle, not enough twist holding it together, or a splice that wasn’t overlapped far enough. Children tend to remember the reason a rope failed better than they remember being told the right technique in the first place.
Beyond a single length
Once the basic two-strand method is comfortable, a few ways to extend the activity across a longer session or a return visit:
- Ply two finished lengths together in the opposite direction for a thicker, stronger cord — the traditional next step once reverse-wrap cordage is solid.
- Compare strength across materials, testing nettle against willow bark against raffia, and let the group predict which will hold the most weight before testing it.
- Use finished cordage practically in a later session. Lashing a den frame or hanging a bird feeder gives the rope an actual job, and children are very proud of being able to find a practical use for what they have made!
What tends to go wrong
The most common stumbling block isn’t the fibre or the twisting motion itself, but tension — children either grip so tightly the fibres snap, or so loosely the twist falls apart the moment they let go. A quick demonstration of “firm but not white-knuckled” at the start of the session saves a lot of frustrated re-starts later.
We’ve also found that it takes a lot longer than you expect, so have a plan to put half finished projects away until the next session, when they can pick them up again. Especially as fibres work better when they are dried, you might want to split the harvesting part from the cordage twisting part over two or more sessions as this is a lot to fit in a single hour of after school club.

About the author: Jon Borley
Jon qualified as a Level 3 Forest School Leader with the Sussex Wildlife Trust. He has worked independently as a practitioner running forest school clubs and also within schools both in a forest school capacity and as an outdoor learning teaching assistant, working with preschoolers to secondary-aged children. He has previously led sessions for adults as part of professional development events for the Sussex FSA, and is a member of MIAS.