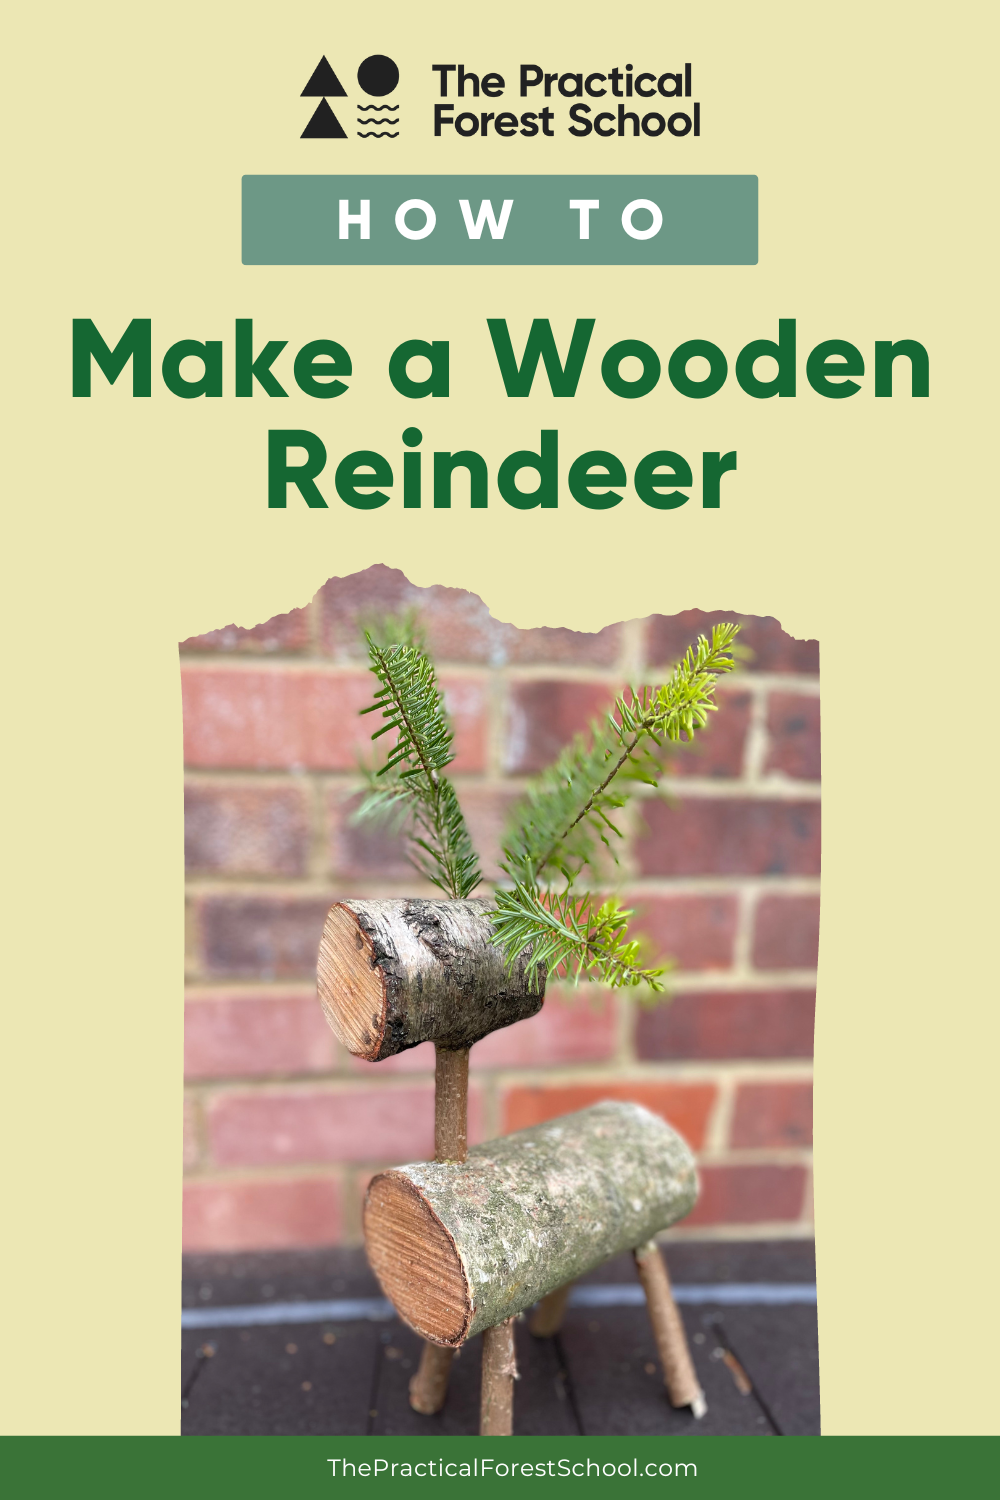
How to Make a Wooden Reindeer
This blog is reader-supported. When you purchase something through an affiliate link on this site, we may earn some coffee money. Thanks! Learn more.
This article contains affiliate links at no cost to you.
These cute wooden log reindeers are actually pretty easy to make. They are a good craft for kids, especially if you pre-drill all the holes. We’ve done this activity with children from aged 3 upwards! And it always goes down well (and also parents love it when their children bring home Christmas crafts!).
You don’t need to use powerful tools, but a chainsaw will help if you are going to be making a lot. Here’s how to make a wooden reindeer from logs.
Supplies
You will need:
- Body: 3 inches/7 cm diameter and 6 inches/15 cm long
- Head: 2.5 inches/6 cm diameter and 4 inches/9 cm long
- Sticks: 0.5 inch/1 cm diameter and 4 inches/9 cm long, 5 per reindeer
- Twigs for antlers
Plus the following tools:
- Chainsaw to cut the wood (best if you are making a lot of bodies/heads for a forest school group) or hacksaw (best if you are making just one or two)
- Drill (like this Bosch)
- Drill bit for wood (from a set like these)
- Hammer or lump of wood for bashing
- Craft knife
- Small loppers or secateurs
Step 1: Get the wood
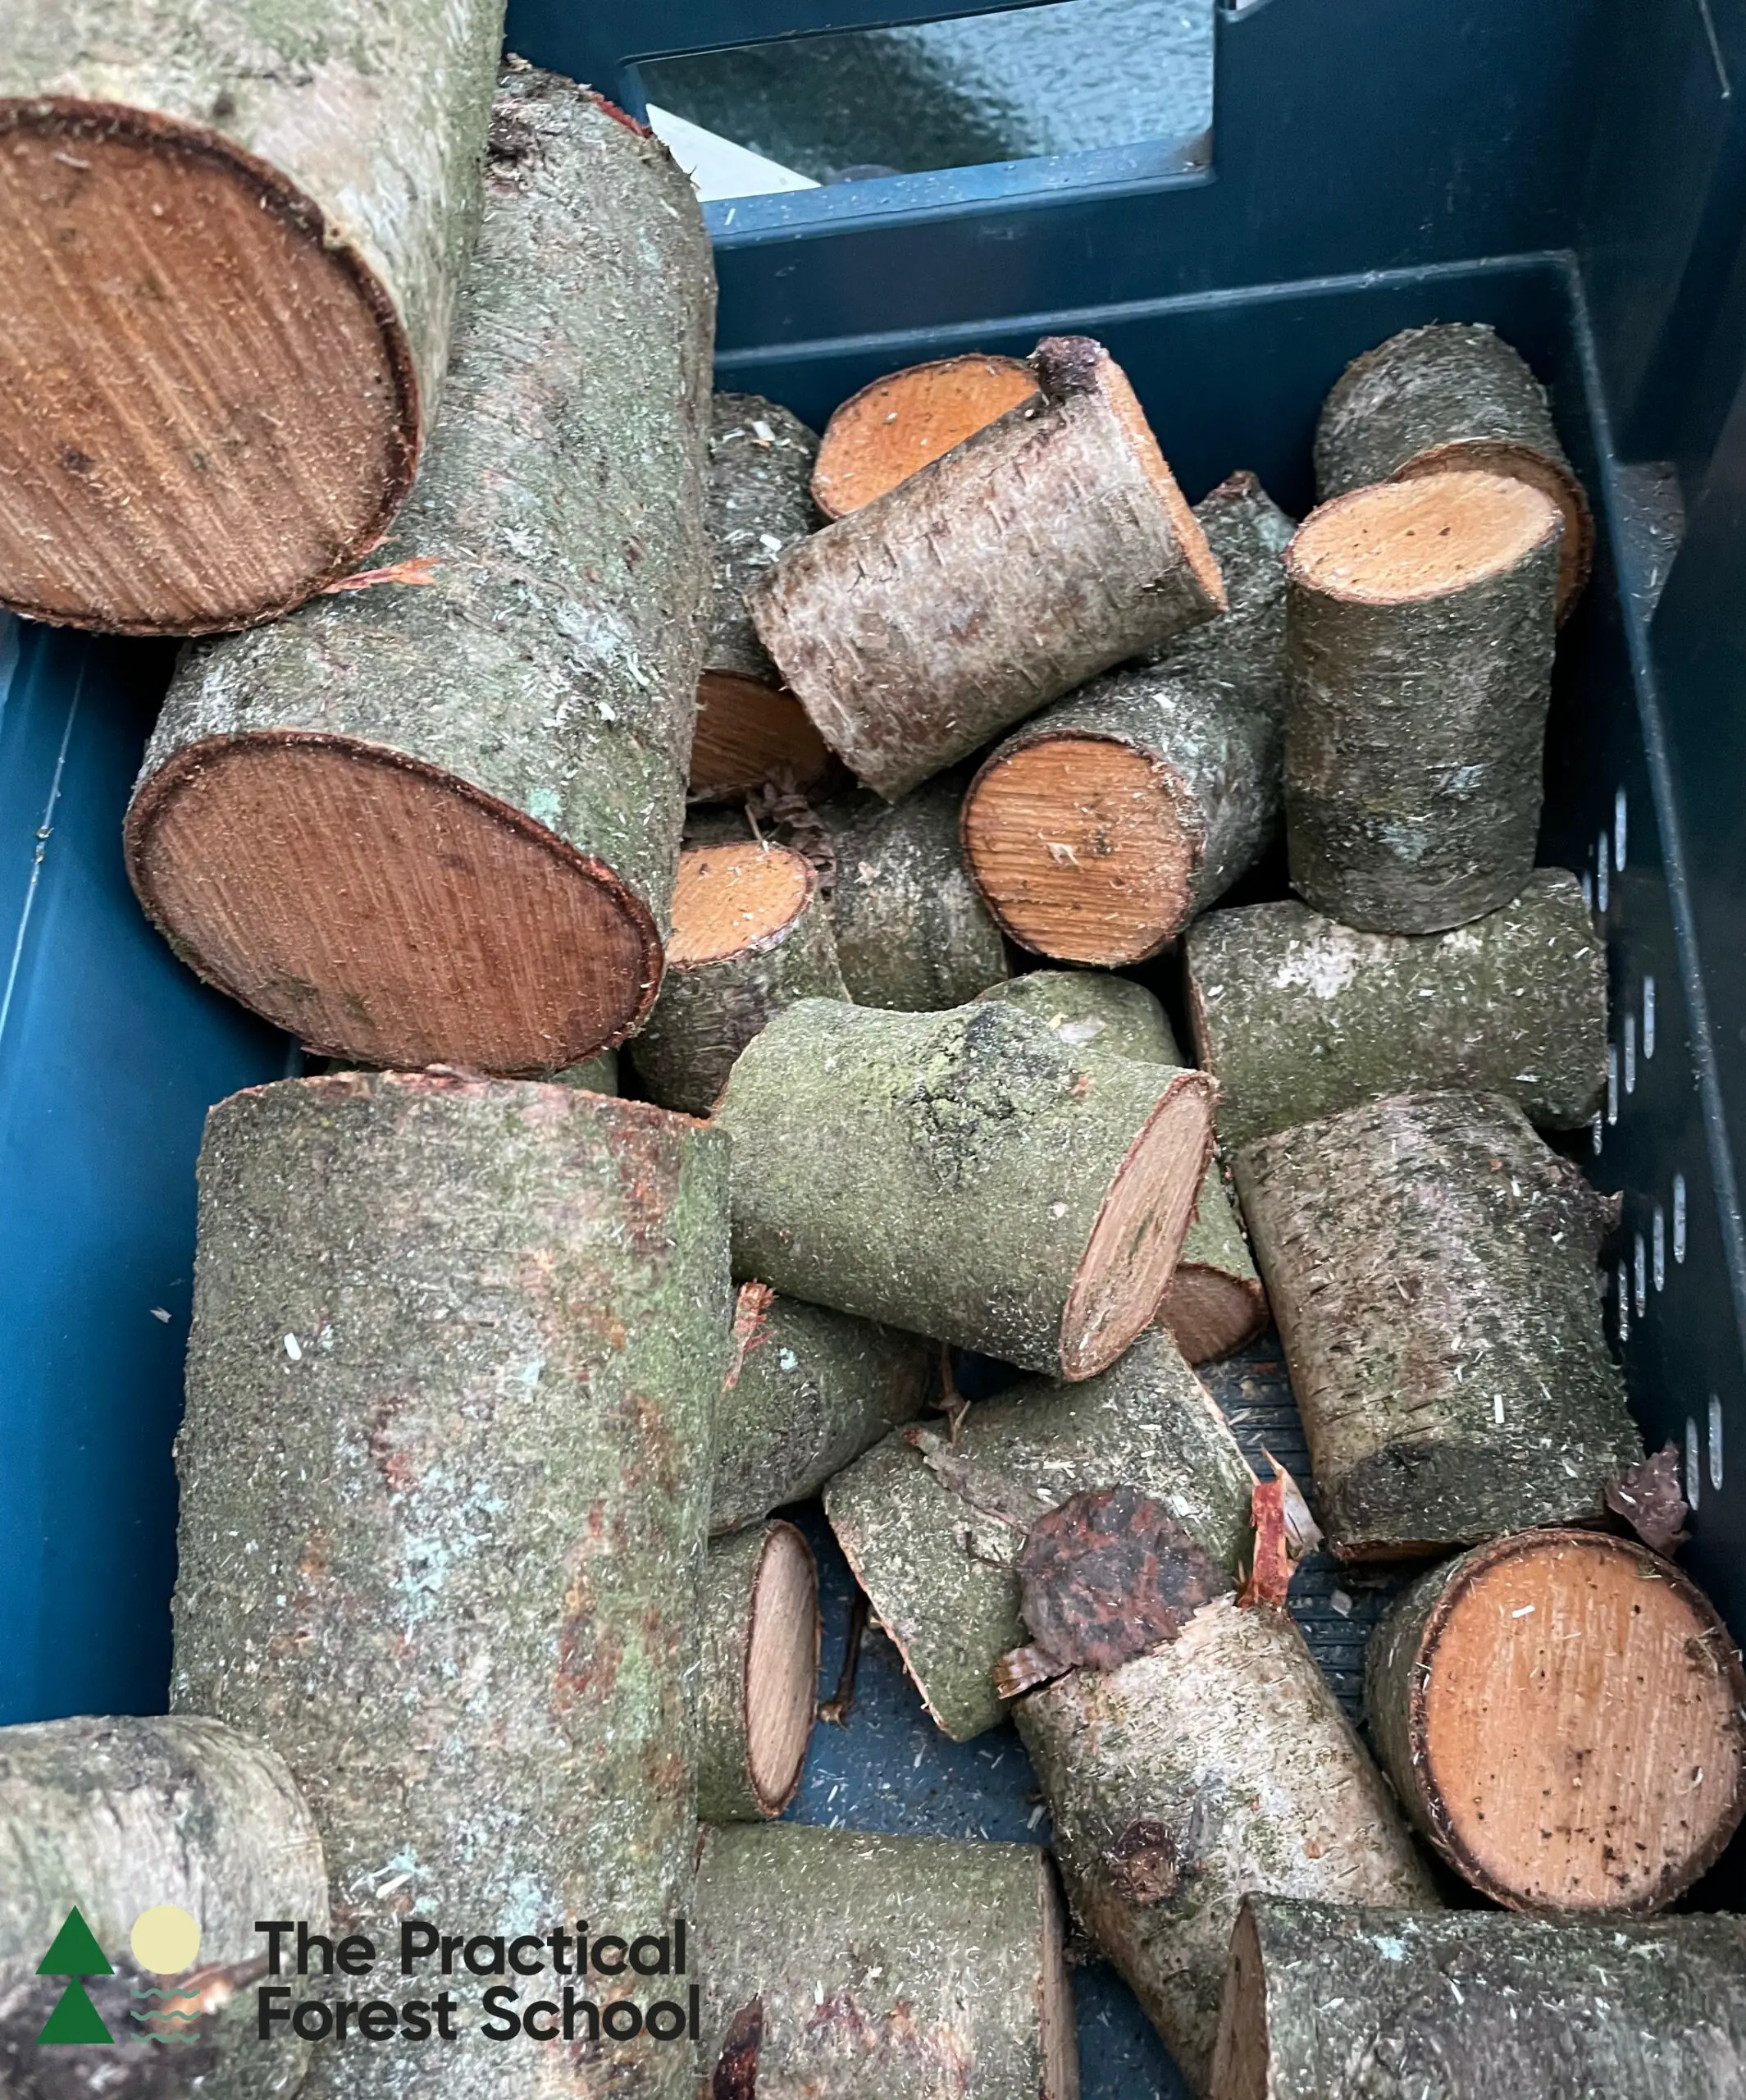
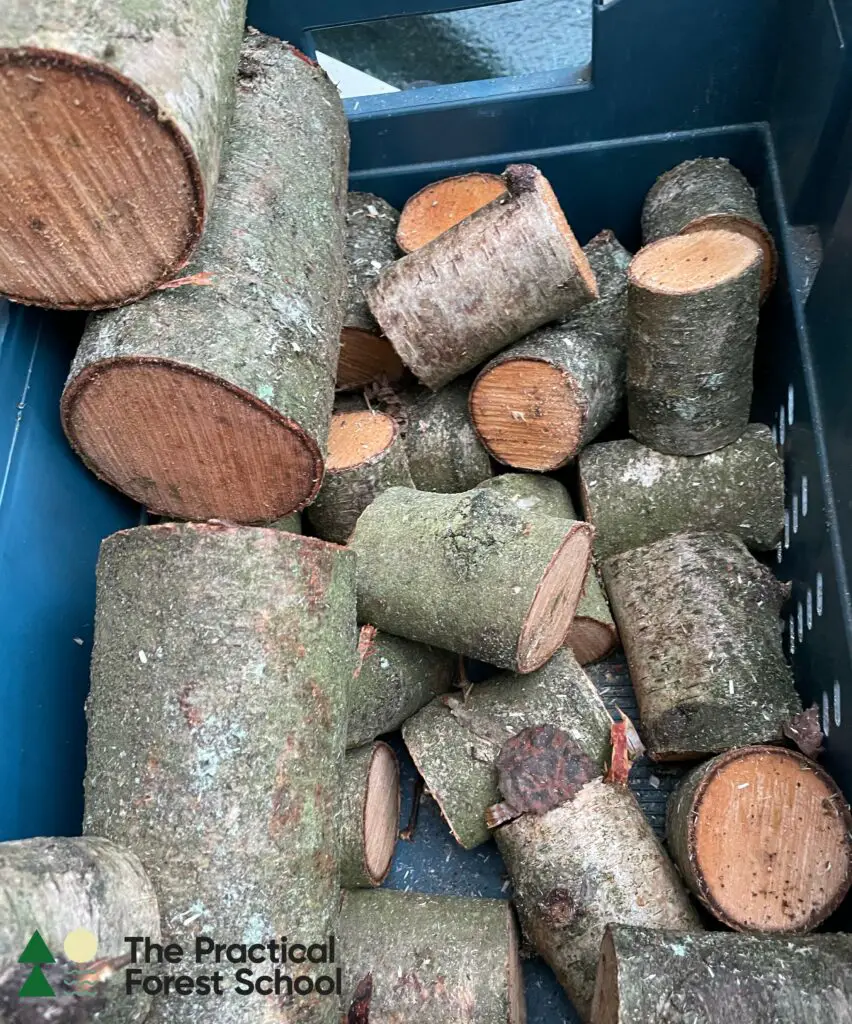
Get your wood ready. You’ll need a selection of thin logs in different sizes cut to be the bodies and heads of your reindeer.
There are no fixed measurements here. You can use any dimensions you like. We went for logs that were around 4 inches in diameter for the body (10 cm) and 2.5 inches in diameter for the head (5 cm), but use what you have. Eyeball it and see if the wood looks broadly in proportion.
We don’t use a paper plan, but if it helps you to write or draw what it’s going to look like before you start work, then go ahead.
Step 2: Drill the holes
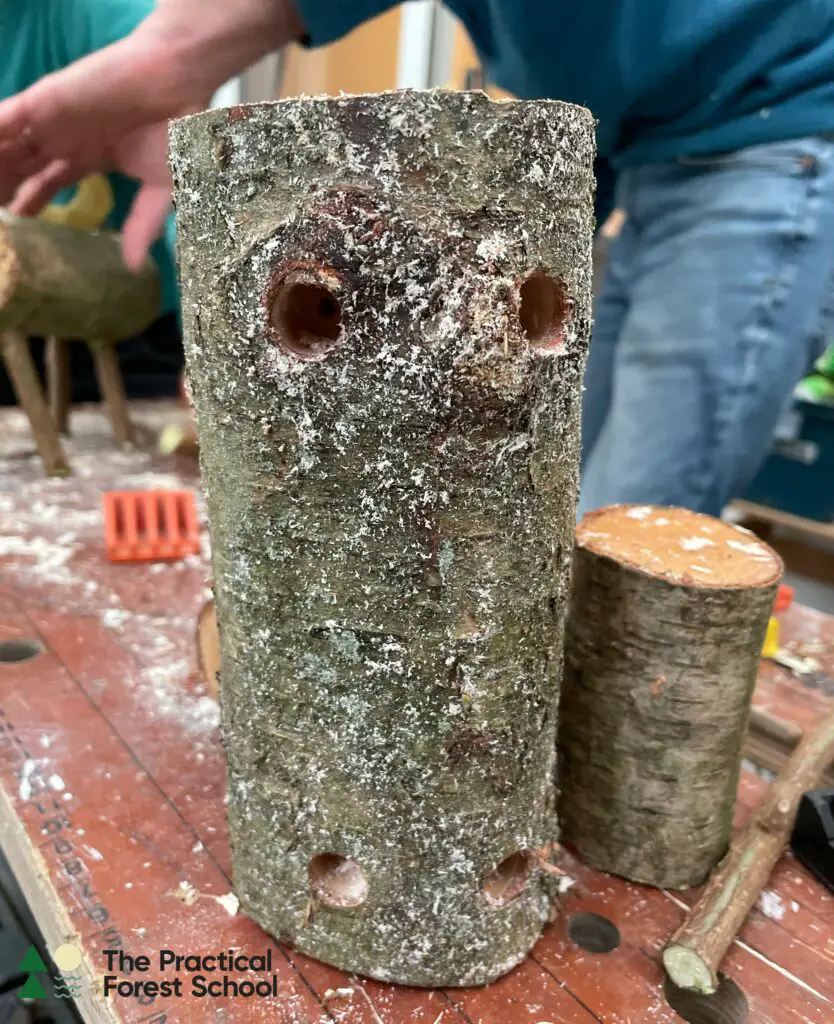
Next, drill 4 holes for the legs on the underside of the body log. The legs are going to be hammered in, so select a drill bit that is going to give you a hole big enough for your leg sticks.
Drill one hold on the top side of the body log. This is going to be where you add the stick for the next to secure the head.
Drill a small hole in the log that will be the head so it can be connected to the body. Put that hole about a third of the way along the log: too close to the end and your reindeer might turn out to be a bit top heavy.
The head also needs two much smaller holes for antlers. If you are preparing the logs in advance so children can construct them, you can decide whether they will drill these holes with a hand drill or whether you’ll make them so the wood is ready to go when it comes to doing the activity.
Step 3: Add the legs
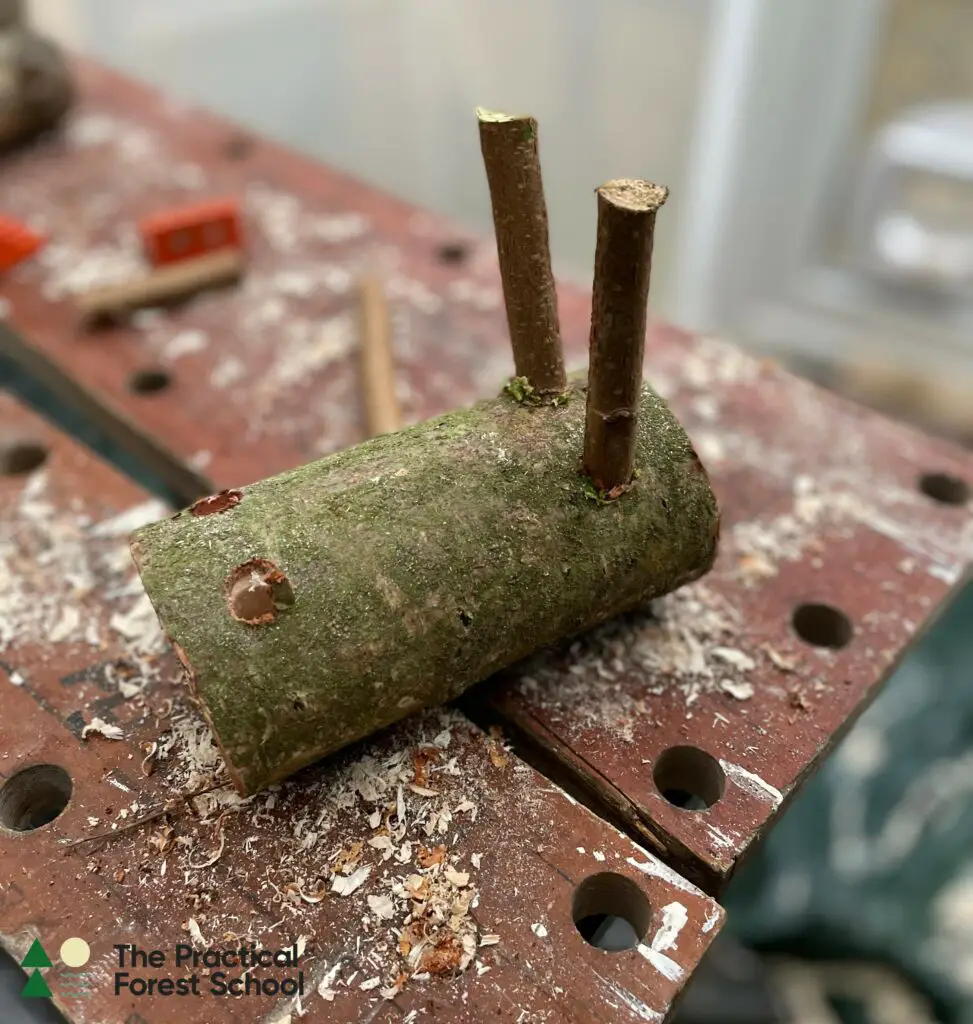
Shave the bark off the smaller branches that you are using for legs to make them fit snugly into the leg holes. Insert the cut end into the hole, then bash it in! Children enjoy doing this part, and if they are able to use knives safely, they can trim the sticks first too.
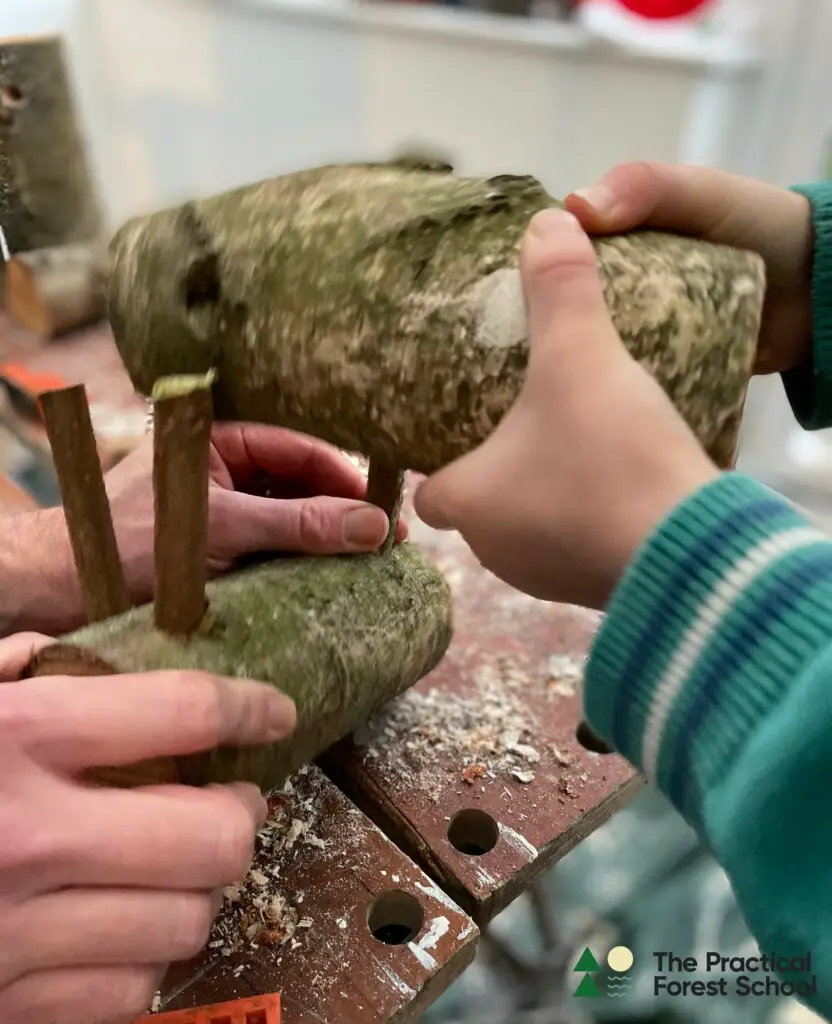
Turn the reindeer over so it is standing on its legs, and use the loppers or secateurs to make sure the legs are the same size. The reindeer should be able to stand up and not look too wobbly.
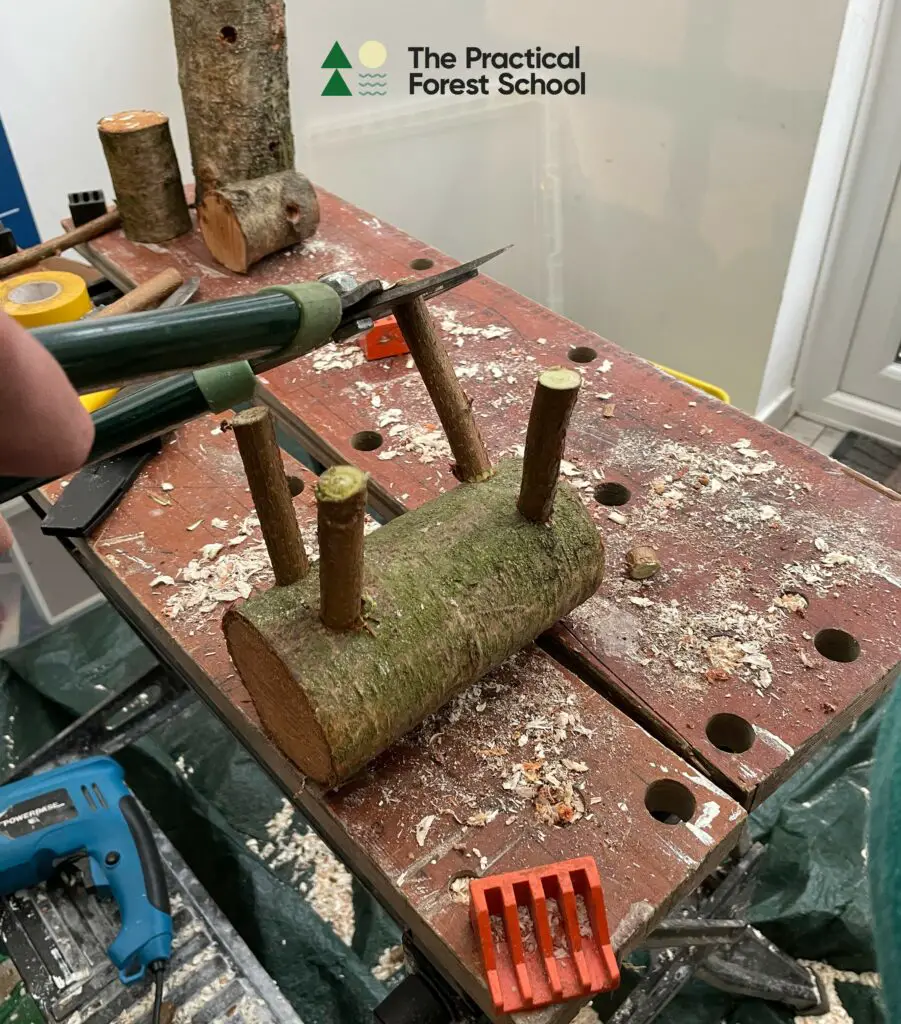
Step 4: Add the head
Add another trimmed stick in the head hole. You’ll need to trim both ends of that stick to connect one end to the body and the other to slot into the head.
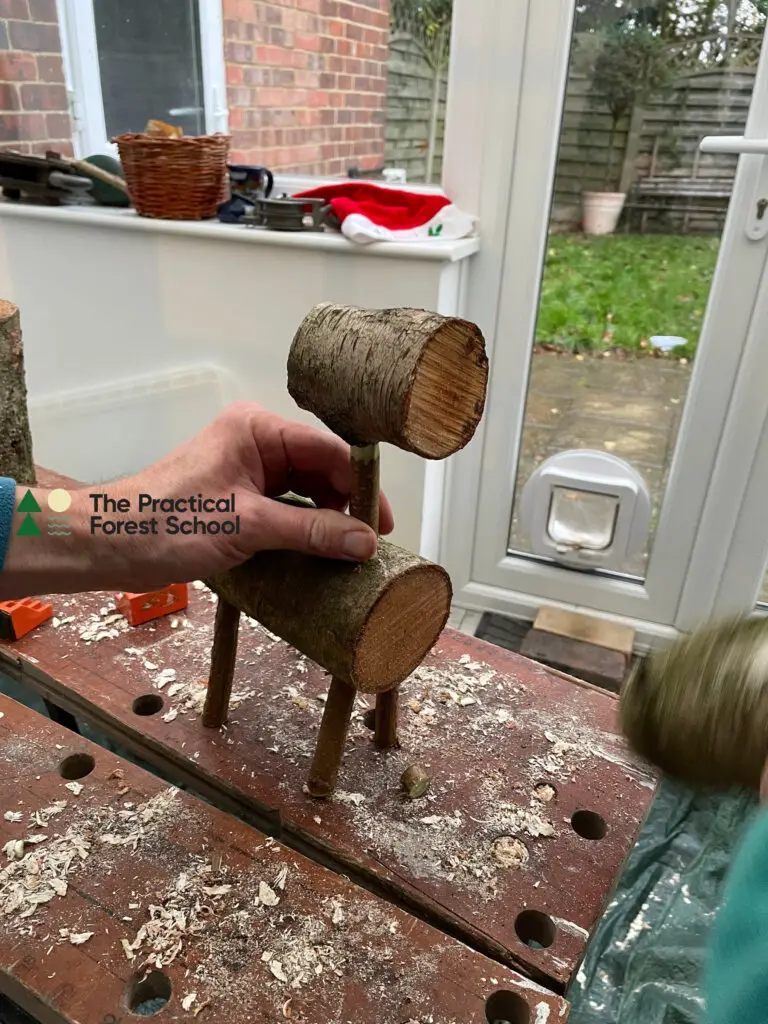
Once the stick is in place and trimmed to the right length, add the head log and bash it in to fix it securely.
Children can be creative here: one of our forest school students decided that his model would actually be a giraffe, with a really long neck!
Step 5: Add the antlers
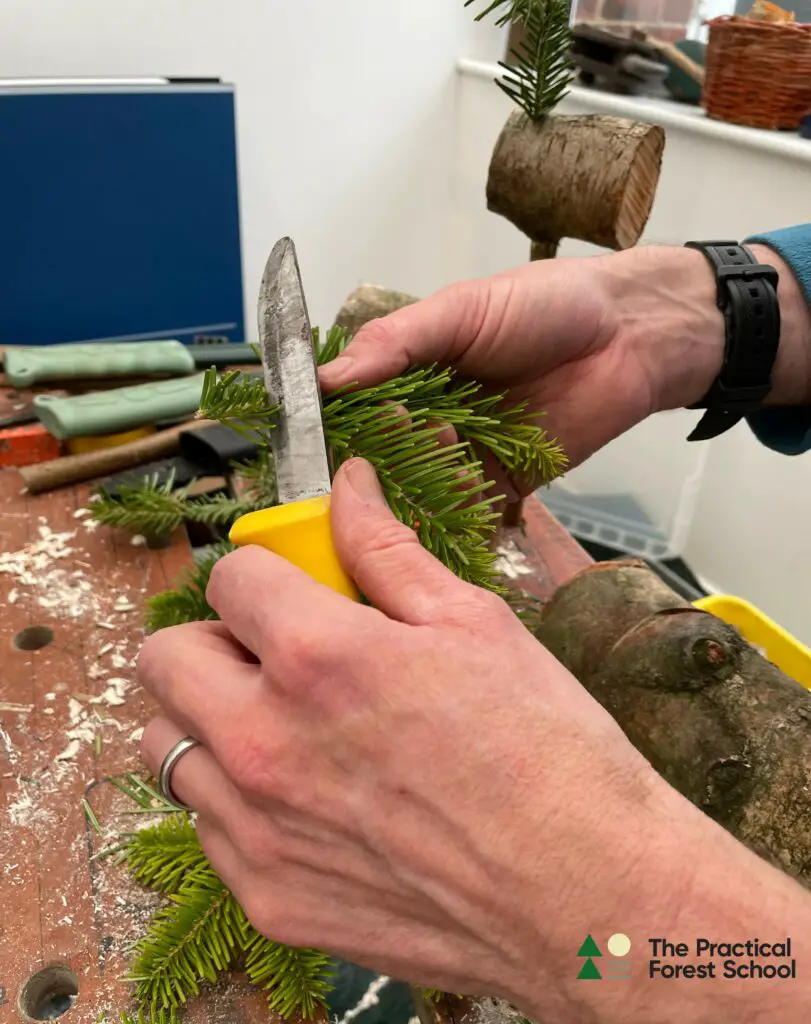
Next, trim pine twigs (or any twigs) so they have a stem that can be inserted into the reindeer’s head holes to create antlers.
We used trimmings from our Christmas tree, but you could use whatever you have to make the antlers. Foraged twigs work just as well, and that’s what we used last year.
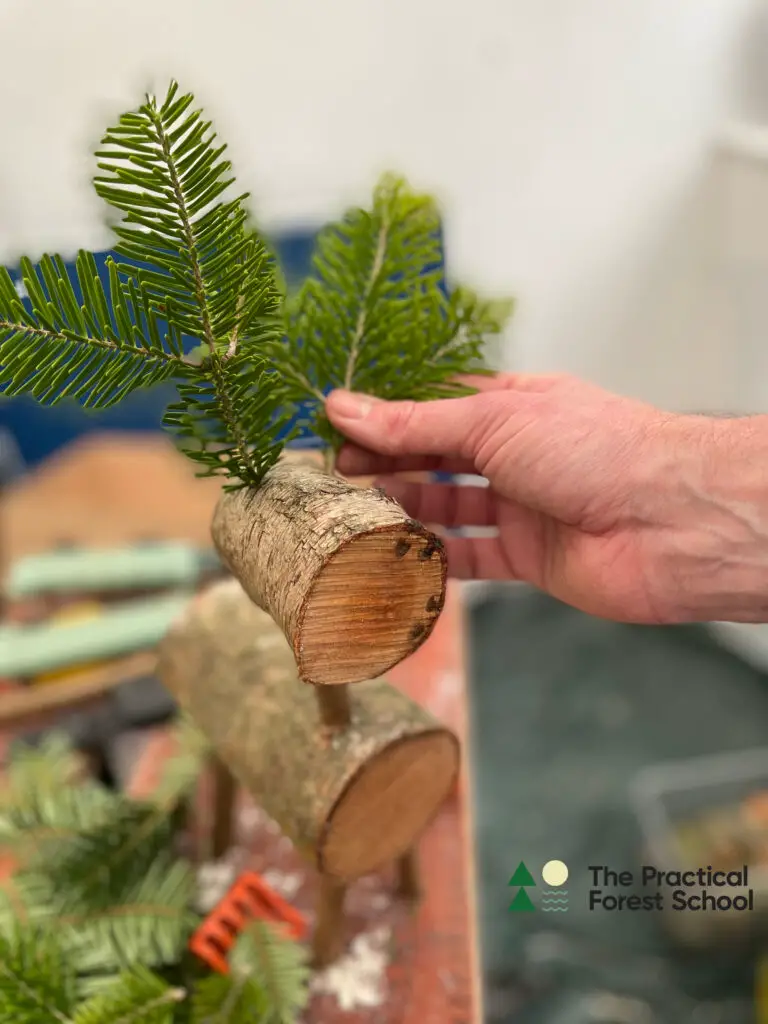
Ta da! Your finished reindeer! Or is it?
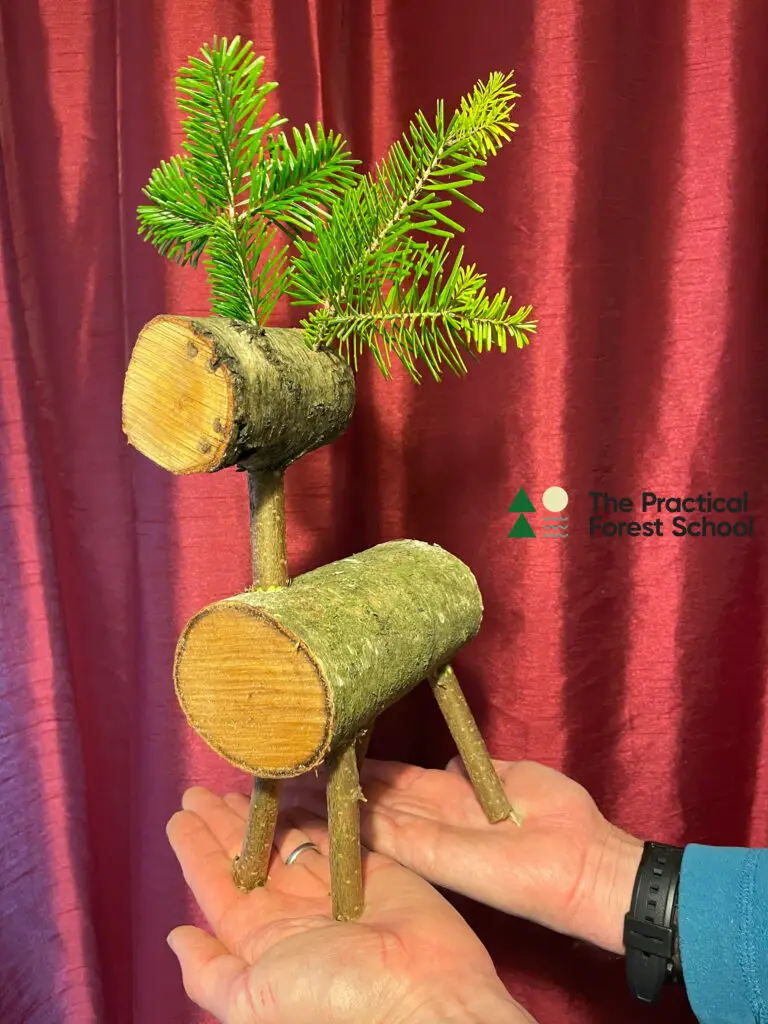
This is the part where children get creative. The sharpie from my toolbox sometimes gets used to draw on a face. Other children have wrapped wool around the neck to make a scarf. Sometimes they want to add a red nose, either drawn on, from a skimmed milk bottle top held in place with a nail, or a pom pom glued on.
Another alternative is glueing on a pinecone as a tail, or using another small hole and stick to make a little tail.
While I don’t personally take a lot of craft stuff into the woods for forest school sessions, the preschool and schools I work at do have craft supplies, or some children finish their decorating at home. There, the kids can embellish as much as they like with whatever materials they have to hand! Perhaps it would look cute with a santa hat?
Is the decorating the best part, or the hammering? The verdict was mixed when we asked our group!
Displaying your reindeer
The reindeer make great Christmas decorations for the holiday season. Make a few and have them pulling Santa’s sleigh. They weather well and will be fine outside so they can bring a bit of holiday spirit to your front porch.
Can I use glue?
Yes, you can use wood glue to fix the legs, head and antlers in place more firmly. However, the better you are at cutting, trimming and drilling, the more likely it is that your reindeer will stay together just with your woodworking skills.
I would encourage you to try to use natural materials without relying on wood glue, but of course you can use it if you need your reindeer to be extra sturdy.
Hopefully these instructions have shown you how easy it is to make a wooden reindeer out of logs. Are you ready to give it a go?

About the author: Jon Borley
Jon qualified as a Level 3 Forest School Leader with the Sussex Wildlife Trust. He works independently as a practitioner running forest school clubs and also within schools both in a forest school capacity and as an outdoor learning teaching assistant, working with preschoolers to secondary-aged children. He has previously led sessions for adults as part of professional development events for the Sussex FSA, and is a member of MIAS.
